
Key Takeaways:
- Roughly 90% of existing U.S. homes are underinsulated by current standards, and with electricity prices projected to rise 2-3% annually, that gap keeps getting more expensive to ignore.
- Start with an energy audit (professional or DIY) before buying materials — insulating the wrong spot wastes money, while targeting real leak points delivers fast, noticeable results.
- The attic is usually the single biggest opportunity in a home; sealing air leaks first, checking insulation depth, and protecting soffit airflow matter as much as the insulation itself.
- Walls, floors, basements, and crawl spaces each need different approaches (dense-pack blowing, rigid foam at rim joists, crawl space encapsulation), so a single one-size-fits-all method won’t cover the whole house.
- Air sealing and insulation work as a team — skipping air sealing typically captures only 60-70% of the possible savings, no matter how much insulation you add.
- Combining insulation with proper air sealing can save homeowners around 15% on heating and cooling costs and roughly 11% on total annual energy bills, according to Department of Energy estimates.
- Matching material (fiberglass, cellulose, spray foam, rigid foam, mineral wool) to your specific climate zone is just as important as installation quality, and avoiding common mistakes like compressed batts or blocked vents protects your investment long-term.
If your energy bills feel like they climb every single year no matter what you do, insulation is probably the missing piece. It is not flashy, it does not come with an app, and nobody brags about it at dinner parties, but it quietly does more for your comfort and your wallet than almost any other home upgrade. This guide walks through exactly how to insulate every major area of your house, from the attic down to the crawl space, so you can stop losing energy (and money) through gaps you cannot even see. By the end, you should have a clear, room-by-room plan instead of a vague sense that “insulation is probably a good idea.”
Why Insulation Matters More in 2026 Than Ever
Energy prices are not exactly trending in a helpful direction. Recent projections from the U.S. Energy Information Administration point to residential electricity rates climbing somewhere in the 2 to 3 percent range annually, which means the cost of heating and cooling an inefficient home keeps compounding year after year. That alone would be reason enough to take insulation seriously, but here is the part that really stands out: the U.S. Department of Energy estimates that roughly nine out of every ten existing homes in the country do not have adequate insulation for current standards.
Put those two numbers together and the picture gets pretty clear. Most homes are already working harder than they need to, and the cost of that inefficiency is only going up. Homes built before the year 2000 are especially likely to fall short of modern insulation benchmarks, which means if your house has some age on it, there is a very good chance you are paying to heat and cool the outdoors right along with your living room. And unlike a lot of home improvements, insulation is one of the rare upgrades that keeps paying you back for decades, often outlasting the HVAC system, the windows, and even the roof above it.
Start With an Energy Audit, Not a Shopping Trip
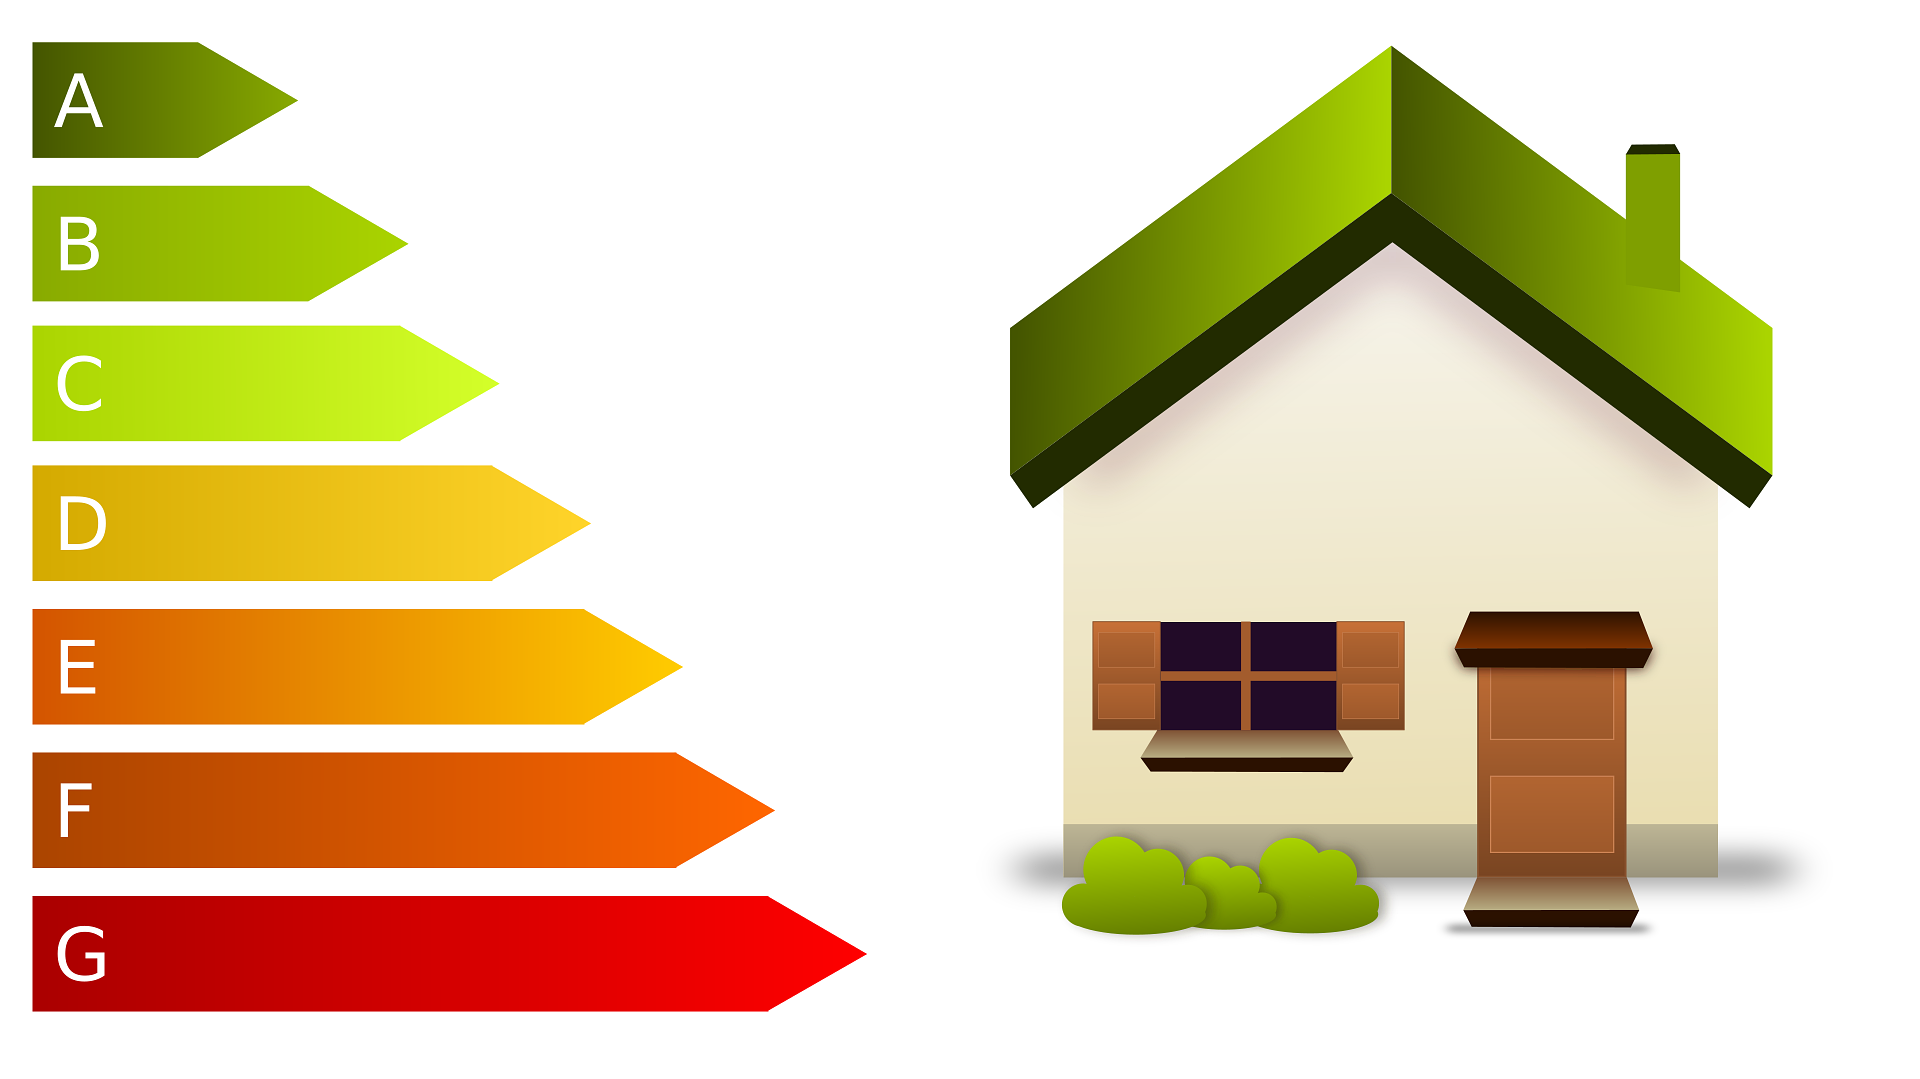
Before you buy a single roll of batting or a can of spray foam, figure out where your home is actually losing energy. A professional energy audit (or even a basic DIY check with a thermal camera or a lit incense stick near windows and outlets) tells you where air is escaping. This matters because insulating the wrong spot wastes money, while insulating the right spot can transform how a room feels almost immediately.
A proper audit usually involves a blower-door test, which depressurizes the home slightly and reveals exactly where outside air is sneaking in. Some utility companies even offer these audits for free or at a reduced cost, since reducing your energy draw benefits the grid as well as your wallet. If you are doing this yourself, focus on temperature differences room to room and any spots that feel drafty even when windows are closed.
Common weak points worth checking first:
- The attic floor and roofline, since heat rises and escapes upward
- Exterior wall cavities, especially in homes built before 1980
- Rim joists and the top of foundation walls in basements
- Around windows, doors, and any pipe or wire penetrations
- Ductwork running through unconditioned spaces like attics or crawl spaces
Insulating the Attic the Right Way
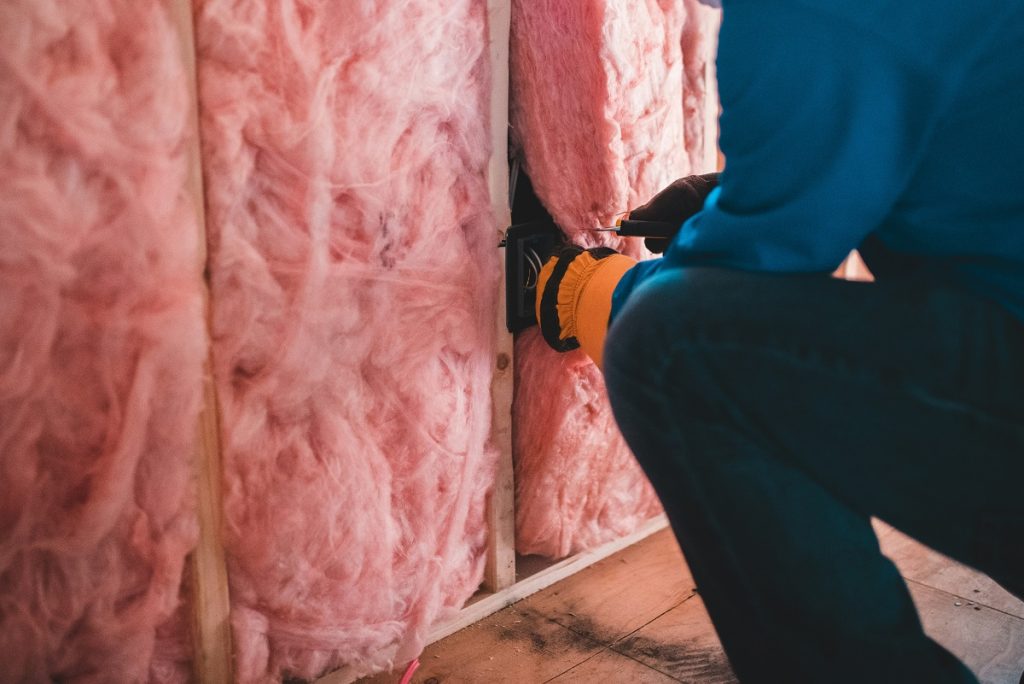
The attic is usually the single biggest opportunity in any home, and it is often the easiest to tackle yourself. Loose-fill fiberglass or cellulose insulation can be blown in relatively quickly, while batts work fine for simple, obstruction-free spaces. A few practical steps make a real difference here:
- Seal air leaks first. Caulk or foam any gaps around light fixtures, plumbing stacks, and the attic hatch before adding insulation, since insulation alone cannot stop moving air.
- Check your current depth. Many homes have insulation that has settled or was never installed to the right thickness for their climate zone, and topping up an under-insulated attic is one of the cheapest efficiency wins available.
- Add baffles near the eaves so airflow from soffit vents is not blocked, which helps prevent moisture buildup and ice dams in colder regions.
- Do not skip the attic hatch or pull-down stairs. These are notorious for leaking air even in otherwise well-insulated attics, and an insulated cover box can close that gap for very little money.
- Watch your footing and wiring. Attics are full of recessed lighting, exhaust fans, and electrical junctions that need clearance or fire-rated covers before insulation goes over or around them.
If your roofline is finished (meaning you have living space directly under the roof rather than a traditional vented attic), you are dealing with a more complex, unvented assembly, and that is a case where hiring a contractor familiar with spray foam or rigid foam board tends to pay off. Getting this wrong can trap moisture in the roof deck, so it is one area where cutting corners tends to backfire.
Wall Insulation for Older and Newer Homes
Walls are trickier than attics because you usually cannot see inside them without opening drywall or drilling small access holes. For homes with existing wall cavities that were never insulated, a common approach is drilling small holes from the exterior (or interior, depending on finish) and blowing in cellulose or fiberglass, then patching the holes afterward. This is dense-pack insulation, and it is one of the more cost-effective ways to dramatically cut drafts in an older home without a full renovation.
If you are renovating and already have drywall removed, that is the ideal time to go further:
- Install continuous exterior insulation board over the sheathing to reduce thermal bridging through wall studs, since studs themselves conduct heat far more readily than the cavity insulation between them.
- Use spray foam in stud bays for a combination of insulation and air sealing in one step, which is especially useful in corners and around window and door framing where batts tend to leave gaps.
- Consider mineral wool batts in areas where fire resistance or sound dampening is also a priority, such as shared walls between a garage and living space.
- Do not forget interior partition walls next to unconditioned spaces, like a wall between a bedroom and an unheated garage, which are frequently overlooked during renovations.
For anyone weighing overall home renovation goals, this is a good moment to think bigger picture. Wall work often overlaps with other sustainable upgrades for every part of your home, like upgrading windows or adding a heat pump, since opened-up walls make it easier to run new wiring or ductwork at the same time. Bundling projects like this can save on labor costs compared to tackling each one separately down the road.
Floors, Basements, and Crawl Spaces
Cold floors are one of the most common complaints in poorly insulated homes, and the fix usually starts below the living space rather than at floor level itself.
- In basements, insulate the rim joist area (where the foundation meets the wood framing) with rigid foam or spray foam, since this is a major, often-overlooked leak point.
- For unfinished basements you plan to condition, insulating the foundation walls themselves (rather than just the ceiling above) is generally the more efficient long-term approach, since it brings the entire basement into the conditioned envelope of the home.
- Crawl spaces benefit enormously from encapsulation: sealing vents, laying down a vapor barrier, and insulating the crawl space walls rather than the floor above, which keeps ductwork and plumbing in a conditioned environment and reduces humidity-related issues like mold and wood rot.
- If you are insulating under a floor over an unconditioned garage or porch, batts installed snugly between joists (with proper support to prevent sagging over time) do the job well.
- Pay attention to plumbing that runs through these areas, since exposed pipes in an uninsulated crawl space or basement are also more prone to freezing in colder climates.
Windows, Doors, and the Small Gaps That Add Up
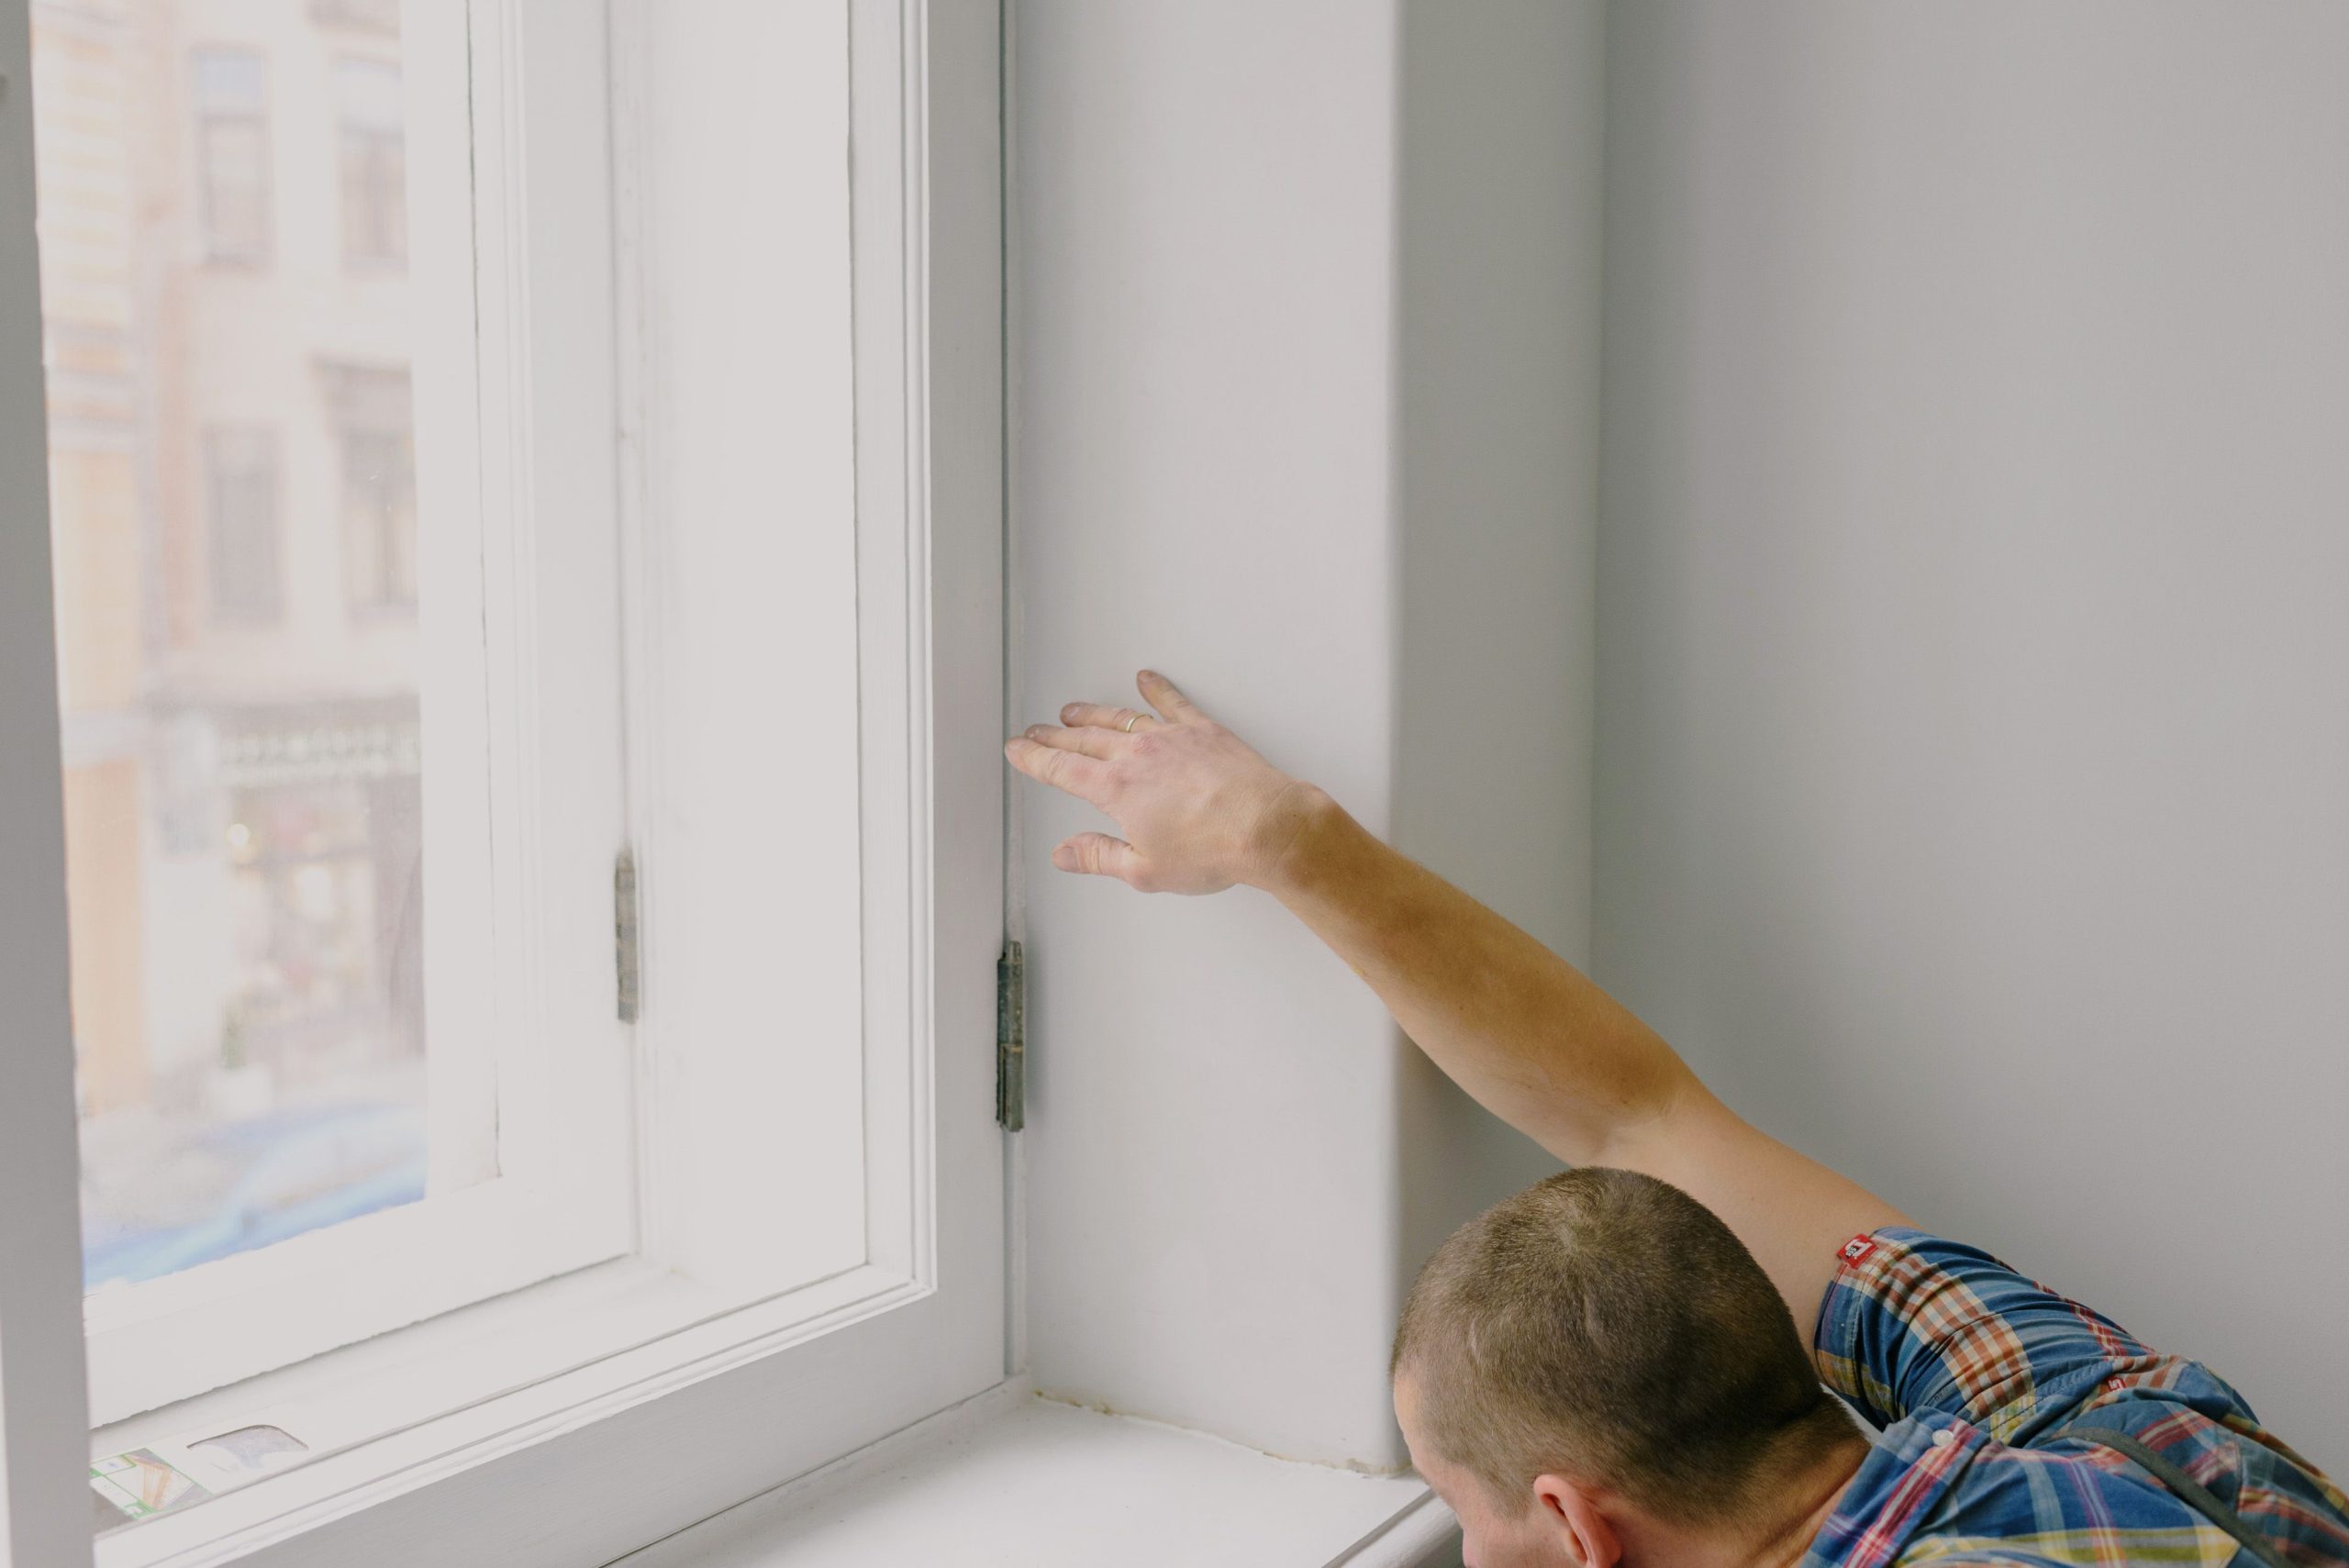
Insulation is not only about thick batts and foam; air sealing around windows and doors is technically a form of insulation too, since it stops conditioned air from escaping through gaps. Weatherstripping, door sweeps, and caulk around window frames are inexpensive and can be handled in an afternoon. For older single-pane windows, storm windows or window insulation film offer a budget-friendly boost without a full replacement.
If you are ready for a bigger investment, upgrading to double or triple-pane windows with low-emissivity coatings pairs beautifully with the insulation work happening elsewhere in the house. Even small details matter here, like making sure the space between a window frame and the rough opening is filled with low-expansion foam rather than left empty, since that gap is a direct path for outside air.
Choosing the Right Material for Your Climate
Not every insulation type performs the same way in every region, so matching material to climate zone matters as much as installation quality.
- Fiberglass batts are affordable, widely available, and work well for standard wall and attic applications in most climates.
- Cellulose, often made from recycled paper, is a strong choice for attics and dense-pack wall applications and offers solid soundproofing along with a smaller environmental footprint.
- Spray foam delivers the highest R-value per inch and doubles as an air barrier, making it especially valuable in extreme climates or homes with persistent air leakage issues, though it comes at a higher price point.
- Rigid foam board works well for basement walls, exterior continuous insulation, and spaces where moisture resistance is a priority.
- Mineral wool holds up well in fire-prone areas and offers excellent sound dampening between floors or shared walls.
Check your local climate zone recommendations before settling on an R-value target, since a home in Minnesota and a home in Georgia have very different insulation needs even if the square footage is identical. A local building code office or energy auditor can usually point you to the recommended R-value range for your specific zone.
DIY versus Hiring a Professional
Some insulation projects are genuinely approachable for a motivated homeowner, while others are best left to a trained crew. Attic batt installation, basic air sealing with caulk and foam, and adding a vapor barrier in a crawl space are all reasonable weekend projects for someone comfortable with basic tools. Blown-in insulation, spray foam, and anything involving opened wall cavities usually call for professional equipment and experience, both for safety and for getting even coverage without gaps or compression.
Get multiple quotes if you are hiring out the work, and ask contractors about the R-value they are installing, not just the thickness, since different materials achieve different R-values at the same depth. It is also worth asking whether they perform a blower-door test before and after the job, since that gives you real, measurable proof of improvement rather than just a visual estimate.
What the Payoff Actually Looks Like
This is where the effort starts to make financial sense. According to Department of Energy estimates, combining insulation upgrades with proper air sealing can save homeowners an average of around 15 percent on heating and cooling costs, which translates to roughly 11 percent off total annual energy bills. That is a meaningful, permanent reduction rather than a one-time discount, and it compounds every single year the insulation stays in place.
It is worth noting that insulation and air sealing work as a team rather than as separate projects. Adding insulation without addressing air leaks typically only captures 60 to 70 percent of the potential savings, since moving air simply bypasses the insulating material altogether. That is one reason professionals almost always recommend blower-door testing or basic air sealing alongside any insulation upgrade, rather than treating them as two unrelated tasks. Over a decade or two, that gap between partial and full savings adds up to a meaningful amount of money left on the table.
Common Mistakes to Avoid Along the Way
Even well-intentioned insulation projects can fall short if a few basics get missed.
- Skipping air sealing and assuming insulation alone will stop drafts
- Compressing batts to fit a space, which reduces their effective R-value significantly
- Blocking soffit or ridge vents in the attic, which can trap moisture and lead to mold or wood rot
- Ignoring ductwork that runs through unconditioned attics or crawl spaces, since leaky ducts undo a lot of the benefit from wall and attic insulation
- Choosing the cheapest material without checking whether it actually meets the recommended R-value for your climate zone
- Forgetting to insulate small transition spaces, like the area above a garage ceiling below a bonus room, which often gets overlooked during larger projects
Timing the Work and Keeping It Maintained
Insulation projects are not especially seasonal in the way that, say, painting a deck is, but there are practical reasons to plan around the calendar anyway. Attic work in the middle of summer can be brutally uncomfortable, since attic temperatures regularly climb well above outdoor readings, so many homeowners prefer spring or fall for that particular job. Crawl space and basement work, on the other hand, tends to be fairly consistent year-round since those spaces are more insulated from outdoor temperature swings to begin with.
Once insulation is installed, it is largely a “set it and forget it” upgrade, but it is still worth a periodic check. Look for signs of pest activity, water intrusion, or settling in loose-fill materials every few years, particularly after any roof repairs, plumbing work, or renovations that might have disturbed the insulation. A quick visual inspection during an unrelated attic or basement visit is usually enough to catch problems early, long before they turn into a bigger repair.
A Few Quick Answers to Common Questions
- How much insulation is enough? It depends on your climate zone, but as a general rule, most attics in colder regions benefit from insulation depths well beyond what many older homes currently have.
- Can I insulate over existing insulation? In most cases yes, as long as the existing material is dry and not compressed, though it is worth confirming there is no hidden moisture problem first.
- Does insulation help in summer too? Absolutely. It slows heat transfer in both directions, which means it keeps conditioned air inside during hot months just as effectively as it holds heat in during winter.
- Is it worth insulating a home I plan to sell soon? Yes, since improved efficiency and comfort are often noted favorably in home inspections and can be a selling point for energy-conscious buyers.
Bringing It All Together
Insulating a home properly is less about one big dramatic renovation and more about methodically covering every zone: attic, walls, floors, basement, and the smaller gaps around windows and doors. Tackle the areas with the biggest air leaks first, match your materials to your climate, and pair every insulation project with proper air sealing so you are not leaving savings on the table. Whether you handle it room by room over a few seasons or bring in a contractor for a full-house overhaul, the investment tends to pay for itself in comfort almost as fast as it does in lower bills.